What to know before you Install
Team Channels and Apps
Microsoft Teams supports the installation of two main types of apps: Personal Apps and Channel Apps.
- Personal Apps appear on the left sidebar of the Teams client.
- Channel Apps appear as Tabs in Team Channels.
GoAutomate Apps are Channel Apps that you install as Tabs in Team Channels. This way, everyone on your team can access the GoAutomate App without having to install it themselves. The app will be available to all team members through a Tab in the Team Channel.
Team Channels are broken into two types:
- Standard Channels: Accessible to everyone in the team.
- Private Channels: Accessible only to selected members.
You can install GoAutomate Apps in both Standard Channels and Private Channels.
Microsoft Teams Permissions
To install apps in Microsoft Teams, you need Administrator permissions. This applies to GoAutomate Apps as well. Here are your options:
- Be a Microsoft Teams Administrator;
- Have permission from your Microsoft Teams Administrator through a Policy;
- Ask your Microsoft Teams Administrator to install the app for you;
- Request approval from your Microsoft Teams Administrator so you can add the app.
Learn more:
- Overview of app management and governance in Teams admin center
- Use app permission policies to control user access to apps
- Request apps that require approval by your org in Microsoft Teams
User Login
We keep GoAutomate Apps secure by using Microsoft Teams authentication. This means you don’t need new usernames or passwords for GoAutomate Apps. If you’re logged into Teams already, you can use GoAutomate Apps without logging in again. You’ll just need to click 'Continue with Microsoft Account' and Microsoft will confirm your identity to give you access to any GoAutomate App.
User Consent
To install a GoAutomate App, you need to allow it to access some basic information about you and maintain the data you provide. These are the minimum permissions required by Microsoft for an app to work securely.
Account Info
When you install a GoAutomate App in Microsoft Teams for the first time, you'll be asked to create a GoAutomate Account. You only need to provide basic company information; payment details aren't needed initially. You get a 30-day free trial with all GoAutomate Apps. To keep using the App after the trial period, you'll need to add payment details.
Step-by-Step Installation
-
Select the Team Channel
Navigate to the Team Channel where you want to install the App. Click the Add a tab +.
![image[height=none]](/assets/images/select-team-channel-6973c51c46a24233b94aa42b035e5ea4.png)
This will open the Microsoft Teams App Store. -
Select the App
Use the search bar to find the GoAutomate App.
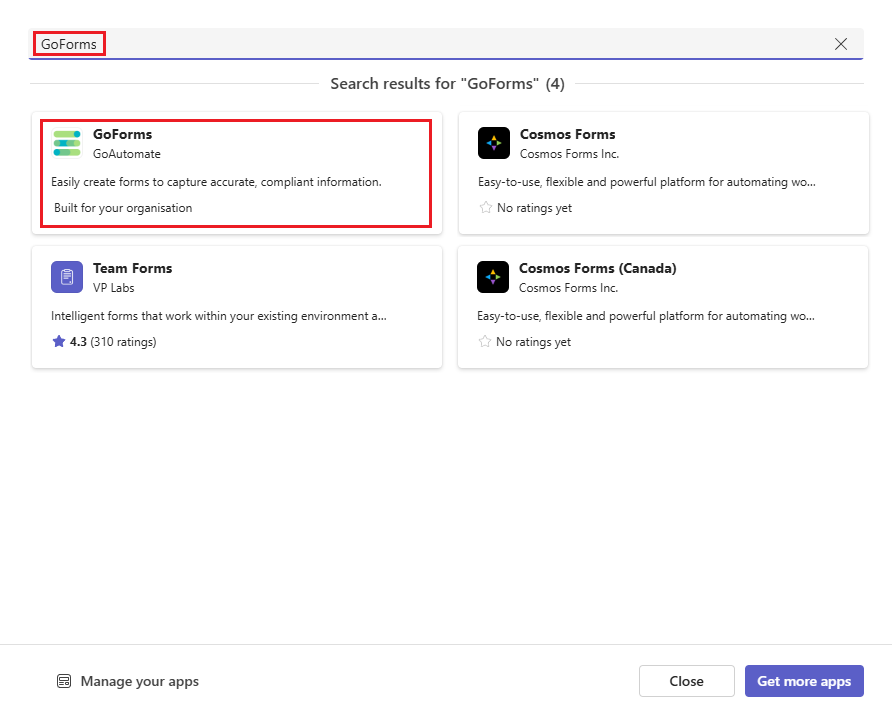
Find the GoAutomate App card and click on it. -
Add the App
The App details page shows features and required permissions.
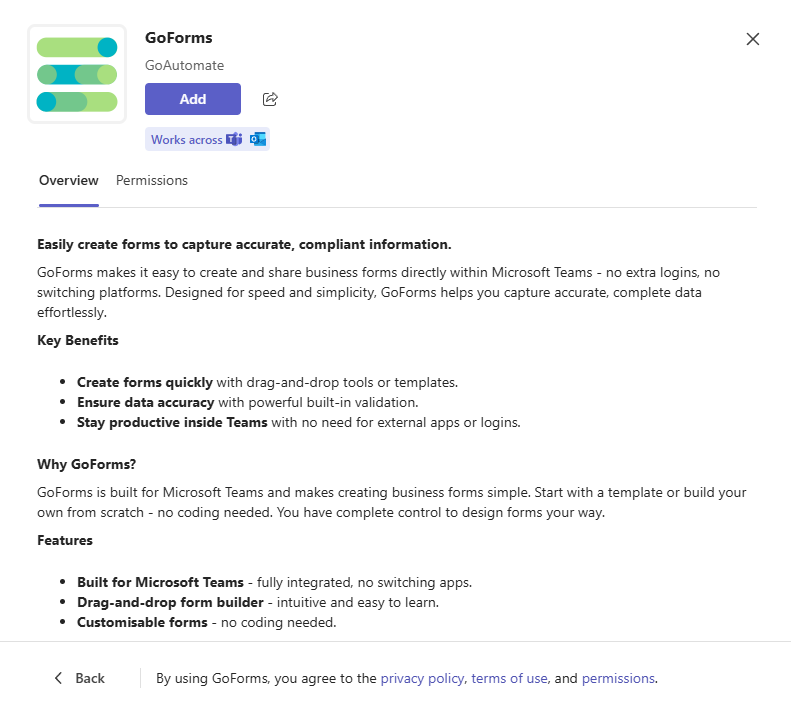
Click the Add button to start the install of selected GoAutomate App. -
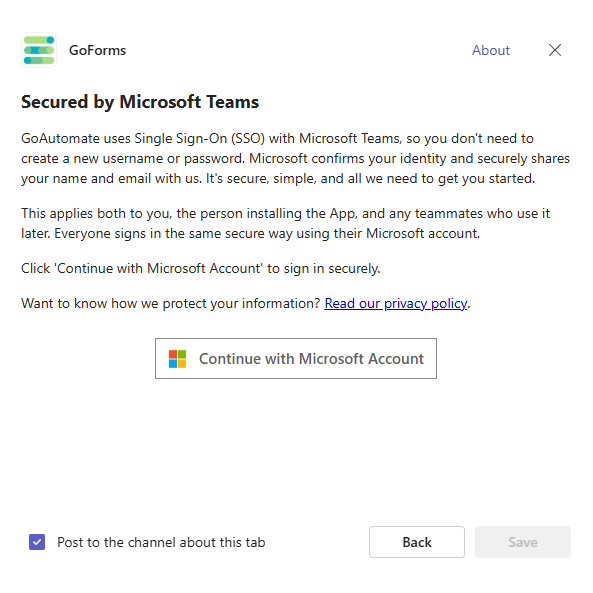
Continue with Microsoft Account
Click Continue with Microsoft Account. This will verify your identity with Microsoft and confirm it with GoAutomate.
-
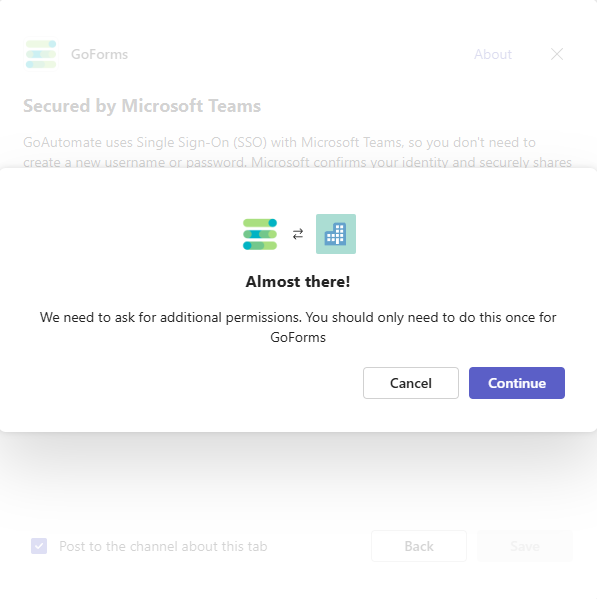
Continue
Click Continue to set-up permissions.
-
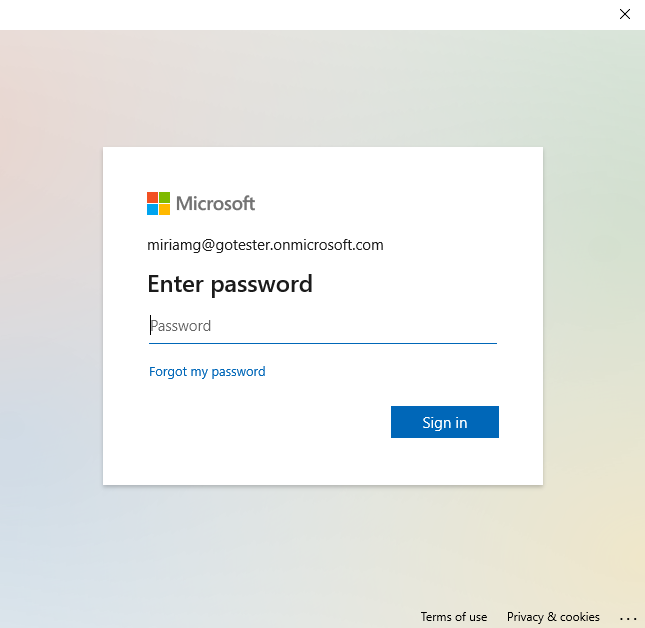
Sign In
Microsoft might ask for your password. Type it in and click Sign in.
-
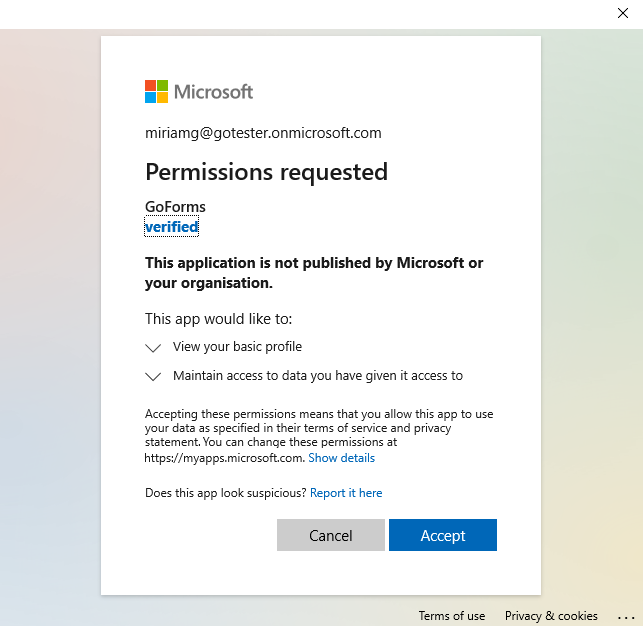
Consent
Click Accept to allow access to your basic information and manage the data you provide.
-
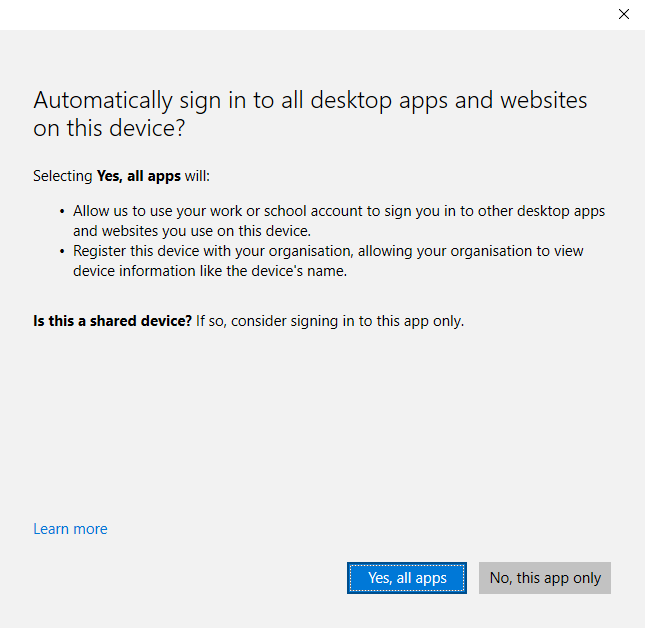
Sign In Scope
Microsoft may ask you to choose whether to sign in to all apps and websites on this device. You need to decide how broadly you want to stay signed in.
-
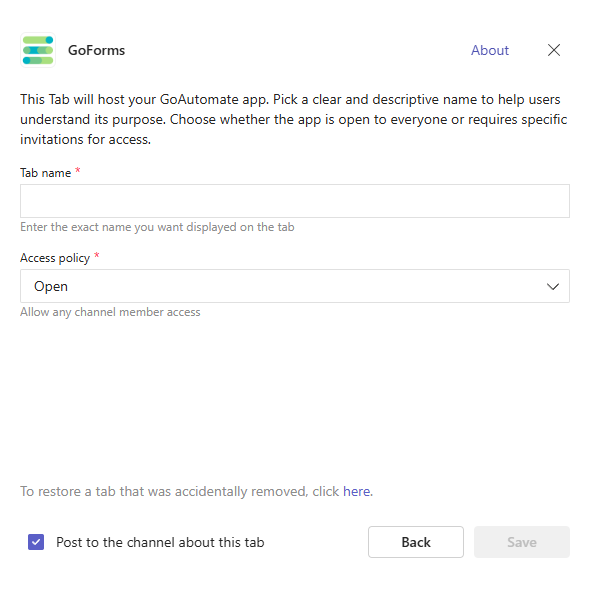
Channel Tab Details
Name your Tab that contains the GoAutomate App. You can change the name later if needed.
Next, choose the Access policy for the Tab. You can set it to Open or Restricted. Open allows any Channel member to access the Tab. Restricted allows only invited members to access it.
-
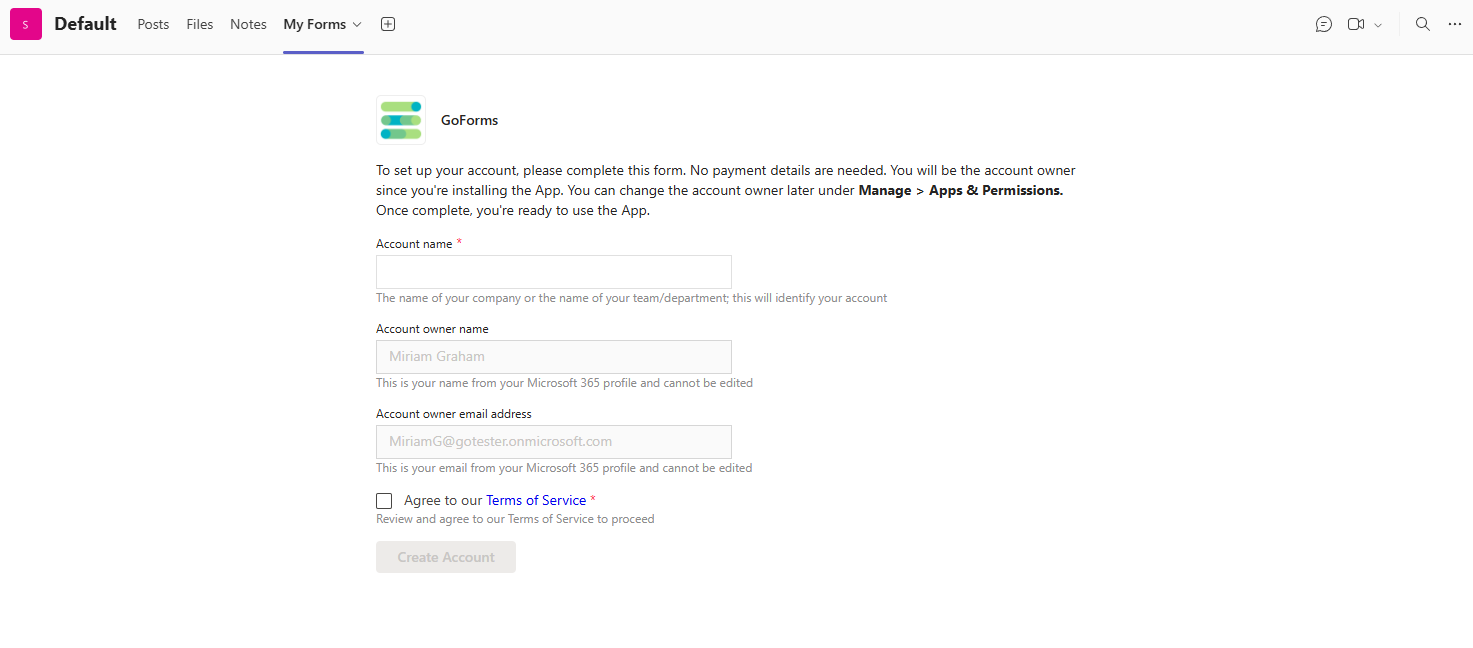
Create your Account
Finally, provide your Account information. Enter an Account Name, which could be your Company or Department name, and agree to our Terms of Service.
The GoAutomate App is now available to everyone on the team.