Conditional Logic lets you control what appears or is active on a Form based on specific formulas. You can use it to show, hide, enable, or disable different parts of the form, such as data fields or layout elements.
When setting up a condition:
- You can choose to show or hide content based on whether a formula returns TRUE.
- Similarly, you can enable or disable content depending on whether the formula returns TRUE.
Here's how to create a conditional formula:
Show/Hide formulas
Show/Hide formulas apply to all form elements, including Rows, Columns, and Column Sets.
-
Open Automation Builder: Go to Manage > Automations >
<Automation Name>> View > Edit
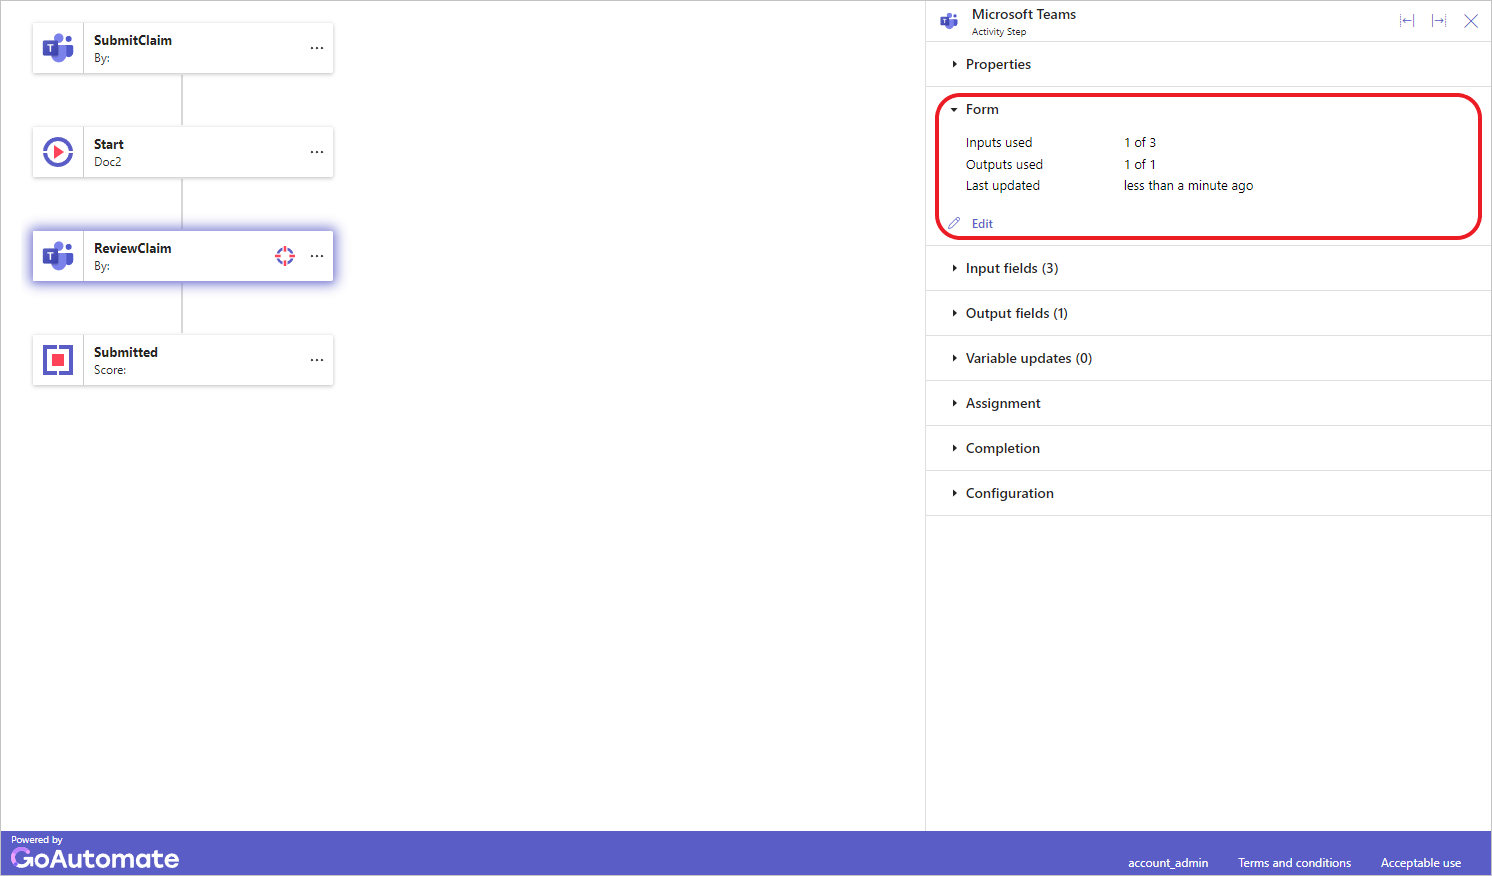
Select the Trigger or Activity step and then click the Form section to expand it.
Click the Edit button. This will open the Form Builder. -
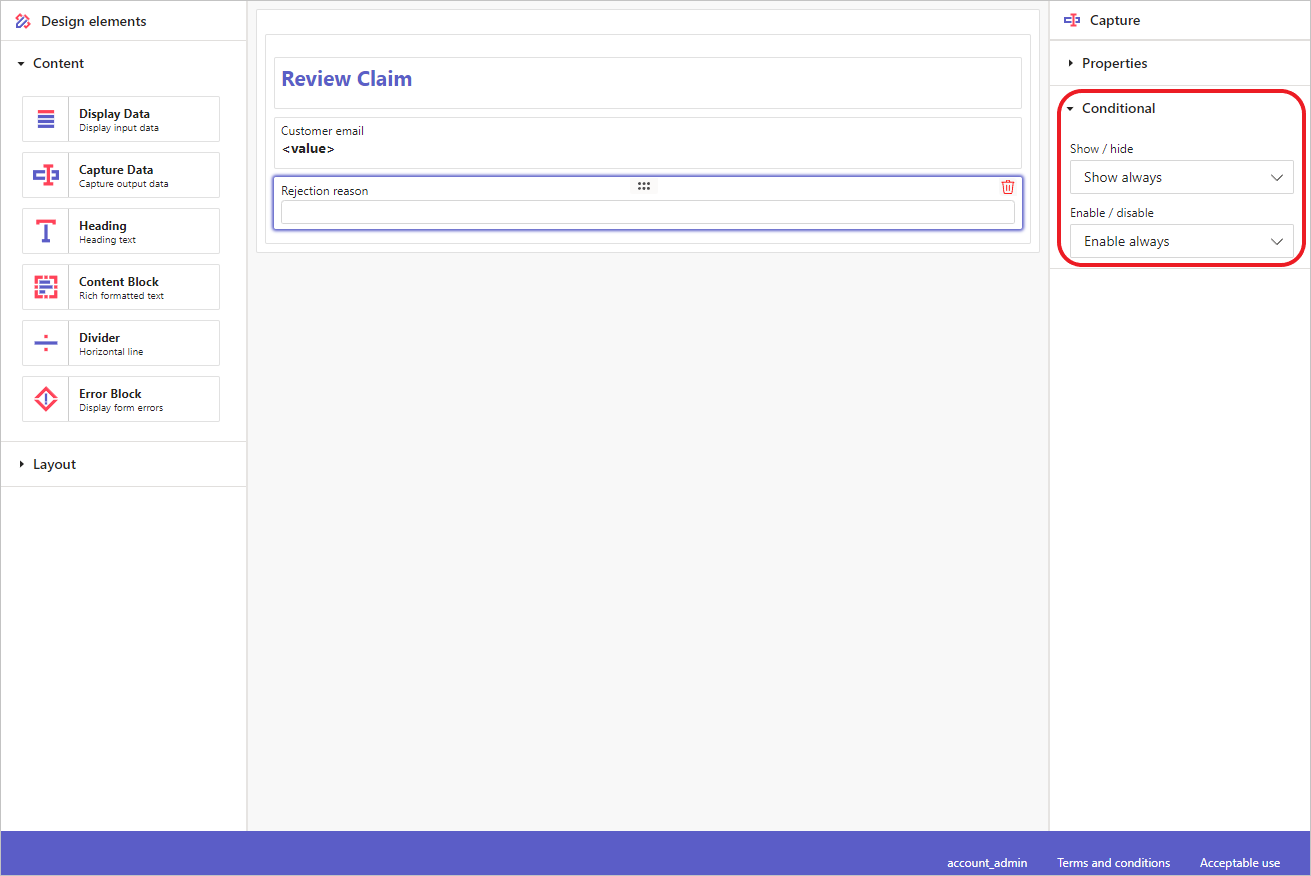
Click a form element and then click the Conditional Logic section to expand it and locate the Show/hide drop-down.
-
The default option is Show always, meaning the element is always visible. Other options are Show when and Hide when. Selecting one of these options will display a formula (fx) input box:

Click the formula input box to open a Formula builder dialog, where you can enter your formula.
For a Show when condition, the element will be shown if the formula returns TRUE; otherwise, it will be hidden.
For a Hide when condition, the element will be hidden if the formula returns TRUE; otherwise, it will be shown.
Enable/Disable formulas
Enable/Disable formulas apply only to Capture elements.
-
Open Automation Builder: Go to Manage > Automations >
<Automation Name>> View > Edit
Select the Trigger or Activity step and then click the Form section to expand it.
Click the Edit button. This will open the Form Builder. -
Click a form element and then click the Conditional Logic section to expand it and locate the Enable/disable drop-down.
-
The default option is Enable always, meaning the element is always enabled. Other options are Enable when and Disable when. Selecting one of these options will display a formula (fx) input box:
Click the formula input box to open a Formula Builder dialog, where you can enter your formula.
For an Enable when condition, the element will be enabled if the formula returns TRUE; otherwise, it will be disabled.
For a Disable when condition, the element will be disabled if the formula returns TRUE; otherwise, it will be enabled.
To learn more about the Formula Builder, click here.