Opening the Automation Builder
Access it by going to: Manage > Automations > <your_automation_name> > View > Edit.
Editing your automation
How to add, modify and remove steps.
Trigger steps
Every automation needs at least one trigger. When you create a new automation or use a template, a trigger is usually added automatically. At minimum, you'll have a trigger Placeholder to choose the type of trigger from the Add Trigger dialog. As one trigger is always required, you cannot remove the final trigger Placeholder.
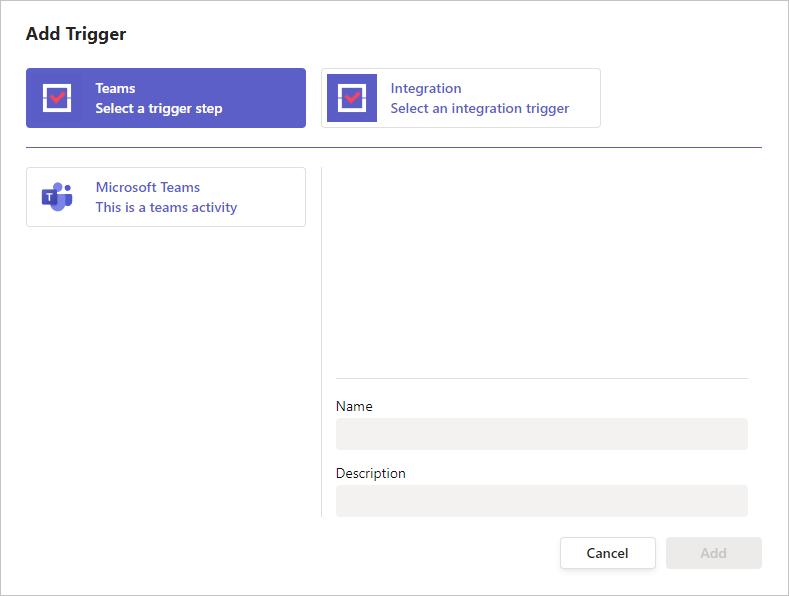
Add a trigger
If there's a Placeholder, click the + Add button on the Placeholder.

This opens the Add Trigger dialog where you can choose the trigger type.
Replace a trigger
To replace a trigger, select Clear from the ... menu on the trigger.
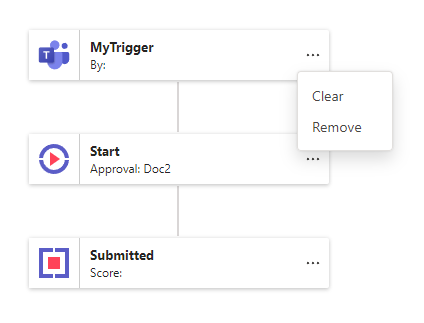
This will remove the Trigger but keep the Placeholder. Then, just add your new Trigger as described above.
If you replace a Trigger and it's data is used in later steps, its data will no longer be available. This will cause errors when you Check and Finalise your automation, which you'll need to fix.
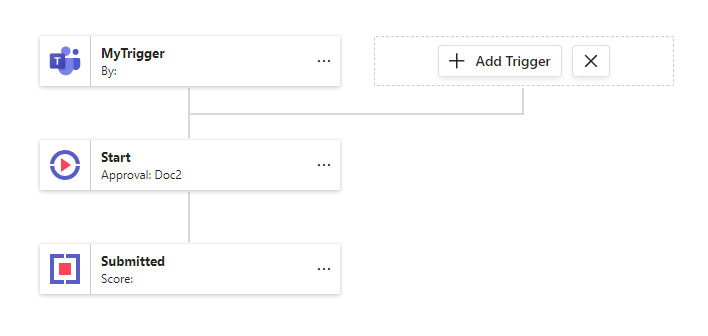
Add another trigger
To add a second trigger to an automation, click the ... menu on the Start step and select Add above.

This will create a new trigger Placeholder.
Then, just add your new Trigger as described above.
Remove a trigger
To remove the Trigger but keep the Placeholder, click Clear. To remove both the Trigger and the Placeholder, click Remove. If it is the last Trigger, you can only click Clear because you can't remove the last Trigger Placeholder.
If you remove a Trigger and it's data is used in later steps, its data will no longer be available. This will cause errors when you Check and Finalise your automation, which you'll need to fix. If you intend to remove it, that's okay.
If you accidentally removed the Trigger, you can hit Undo to restore it.
Control steps and Activity steps
Every automation needs a Trigger step and a Start step. When you create or use a template for an automation, a Start step is added automatically and cannot be removed. The types of steps you add depend on your specific needs. This section explains how to add and manage both Control and Activity steps.
Add step
This section isn’t ready just yet—we’re working on it! Please check back soon, and if you need help right away, feel free to ask in our Community Forum.
Remove step
This section isn’t ready just yet—we’re working on it! Please check back soon, and if you need help right away, feel free to ask in our Community Forum.
Replace step
This section isn’t ready just yet—we’re working on it! Please check back soon, and if you need help right away, feel free to ask in our Community Forum.
Move step
This section isn’t ready just yet—we’re working on it! Please check back soon, and if you need help right away, feel free to ask in our Community Forum.